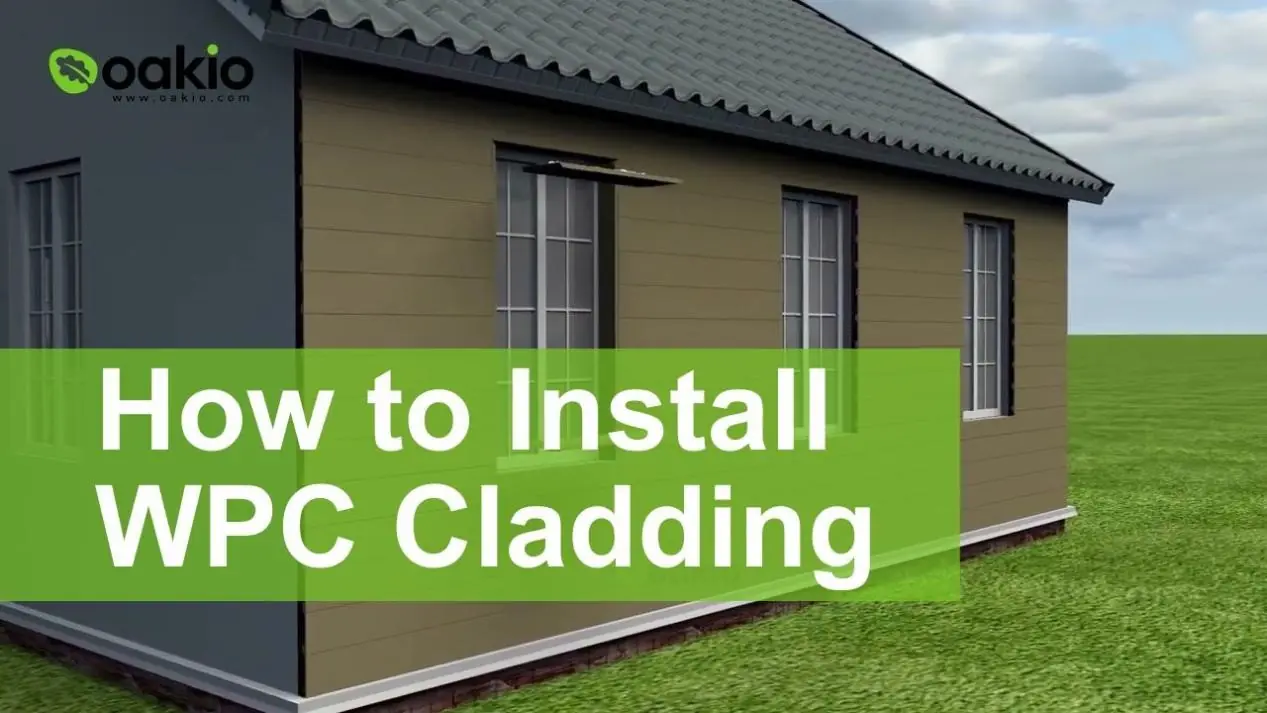
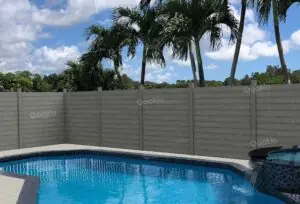
Easy Steps to Install WPC Cladding[2025 Updated]
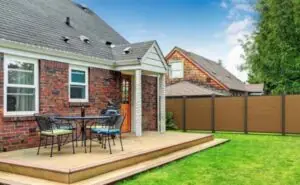
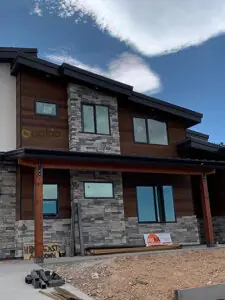
WPC (Wood Plastic Composite) cladding has become a popular choice for exterior wall coverings due to its durability, aesthetic appeal, and ease of installation. Whether you’re enhancing the look of your home or revamping a commercial space, installing WPC cladding can transform the appearance and functionality of any building facade. In this installation of WPC cladding guide, we will show you the step-by-step process of installing WPC cladding, ensuring a successful transformation of your outdoor living area.
Materials and Tools That You Need to Install WPC Cladding
Before you begin the installation of WPC cladding, gather all the necessary tools and materials. You’ll typically need:
Materials:
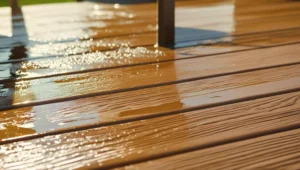
– WPC cladding panels
– Joists
– Stainless steel screws or clips
– Fascia boards or Trims (if desired)
– Styrofoam
Tools:
– Level
– Tape measure
– Circular saw or miter saw
– Drill/driver
– Safety goggles
– Work gloves
Inspect the wall surface to ensure it’s clean, dry, and free of any debris or protrusions. Repair any damaged areas and ensure that the surface is flat and even.
7 Steps to Install WPC Cladding
Step 1: Planning and Layout
Plan the layout of the cladding panels, considering factors such as the orientation of the panels, the placement of joints, and the desired pattern or design. Measure the dimensions of the wall and calculate the number of panels needed to cover the entire surface area.
Step 2: Install the Joists
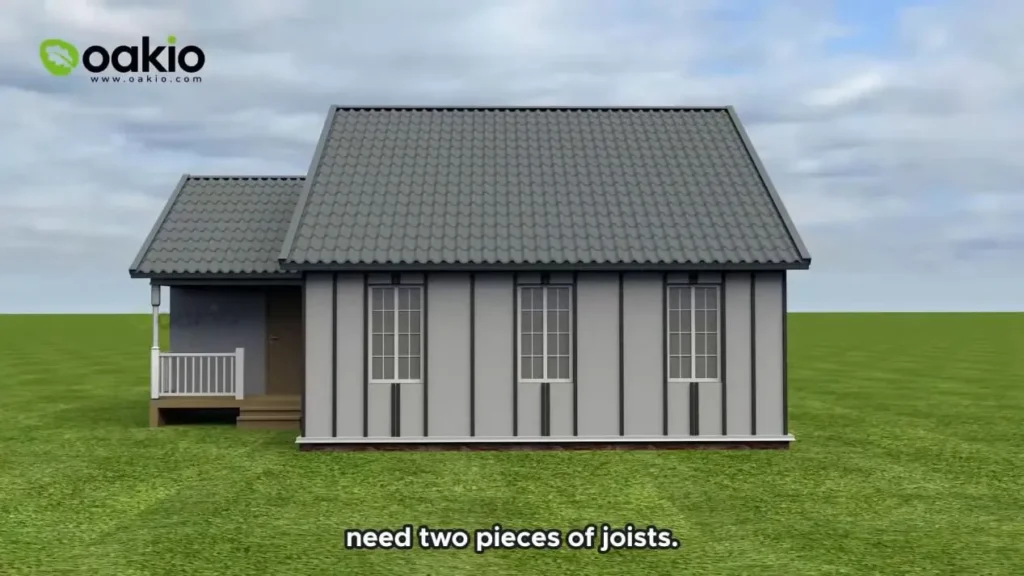
Attach the joists vertically along the bottom edge of the wall, following the layout marks as a guide. The joists create a level base for the WPC cladding panels and help facilitate drainage and ventilation behind the panels.
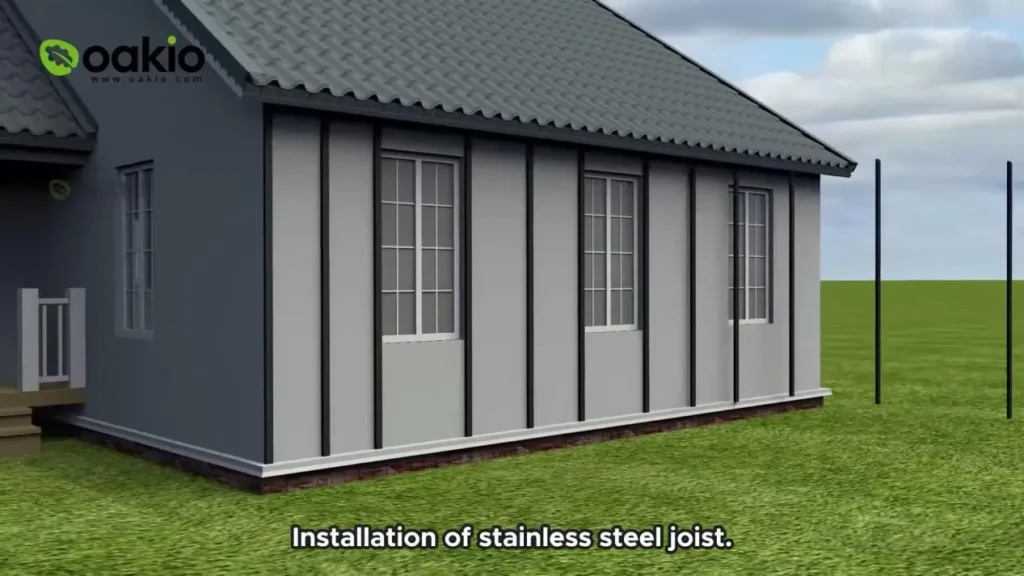
Note: When there are windows on the wall, remember to install two pieces of joists under the windows.
Step 3: Cutting Panels to Size
Measure and mark the WPC cladding panels according to the desired dimensions, accounting for any openings such as windows, doors, or corners. Use a circular saw or miter saw to cut the panels to size accurately. Wear safety goggles and work gloves to protect yourself during the cutting process.
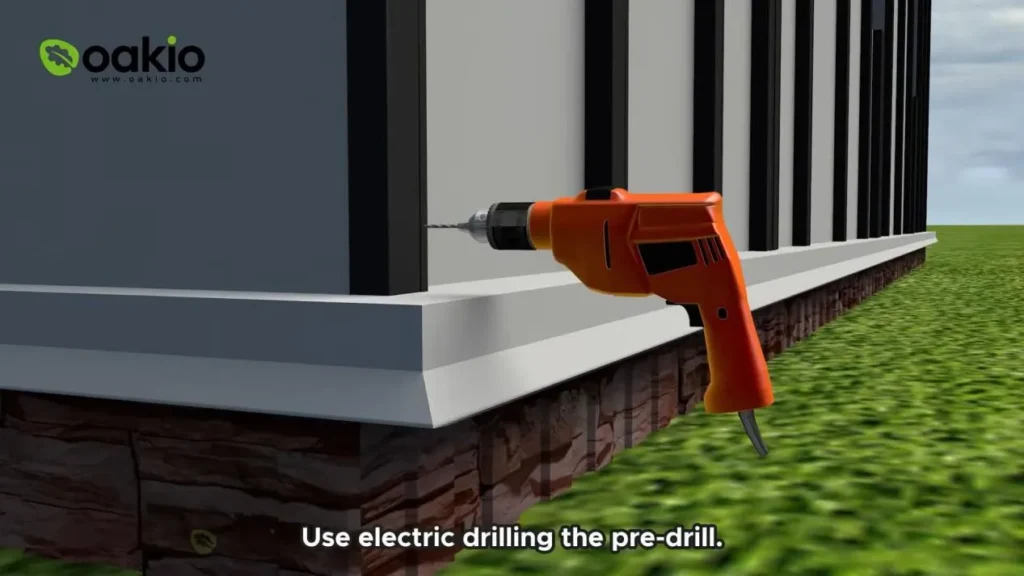
Step 4: Attach the Wall Panels
– Before installing the first piece of cladding, pre-drill hole on the joists.
– Install the starter clips on the joists. Leave proper space between the starter clip and the floor. The started clip distance to floor can be about 8mm.

– After installing the starter clips, attach the panel, then fix the screws.
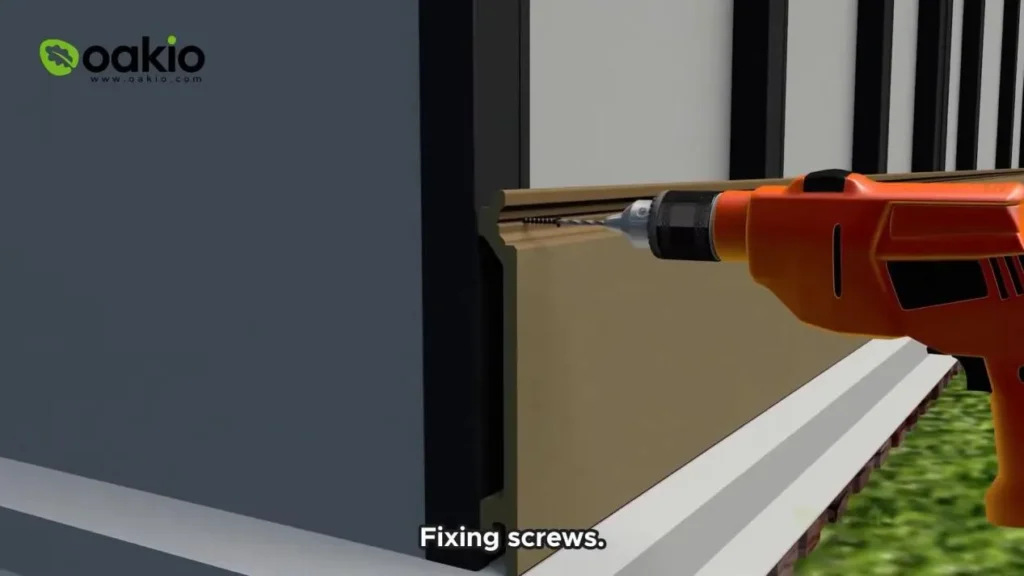
Continue installing WPC cladding, overlapping the edges according to the manufacturer’s recommendations. Use a level to check for straightness and adjust as needed. Leave a small gap between panels to accommodate expansion and contraction due to temperature changes.

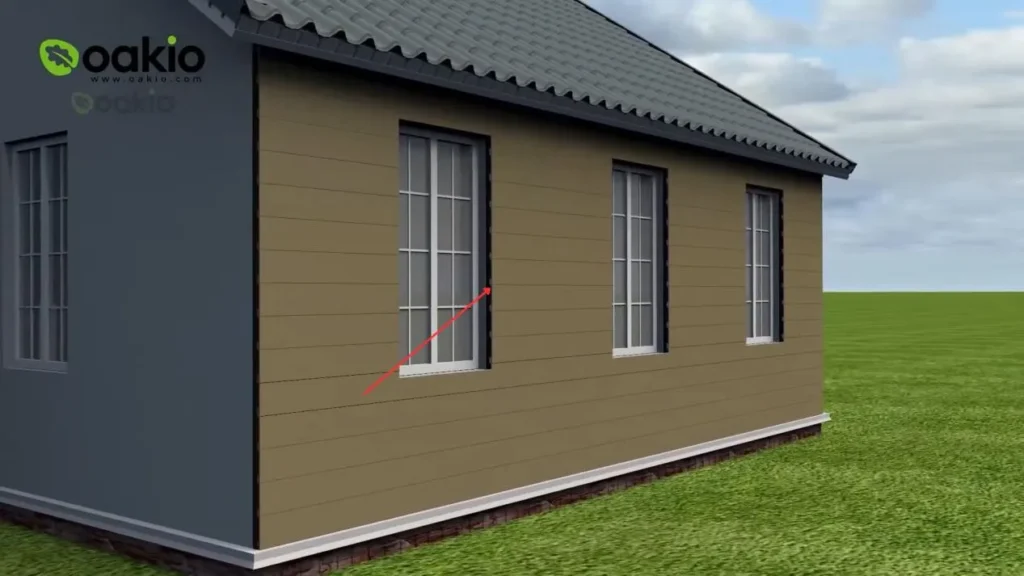
When installing the cladding near the window, cut the board when necessary. Fix a small piece of wood between the joist under the window and the cladding.

Step 5: Install Cladding to the Window Frame
The window frames also need covering for a better look.
– Cut the board to make it fix the window frame.
– Apply Styrofoam to cladding.
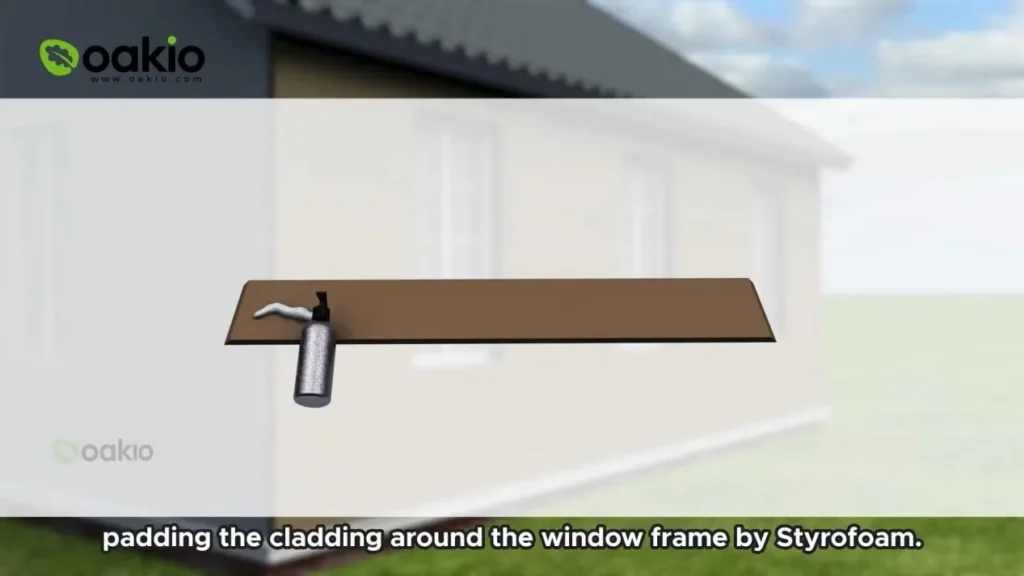
– Install the cladding on the window frame. Then press the board firmly to ensure that it is firmly attached to the window frame.
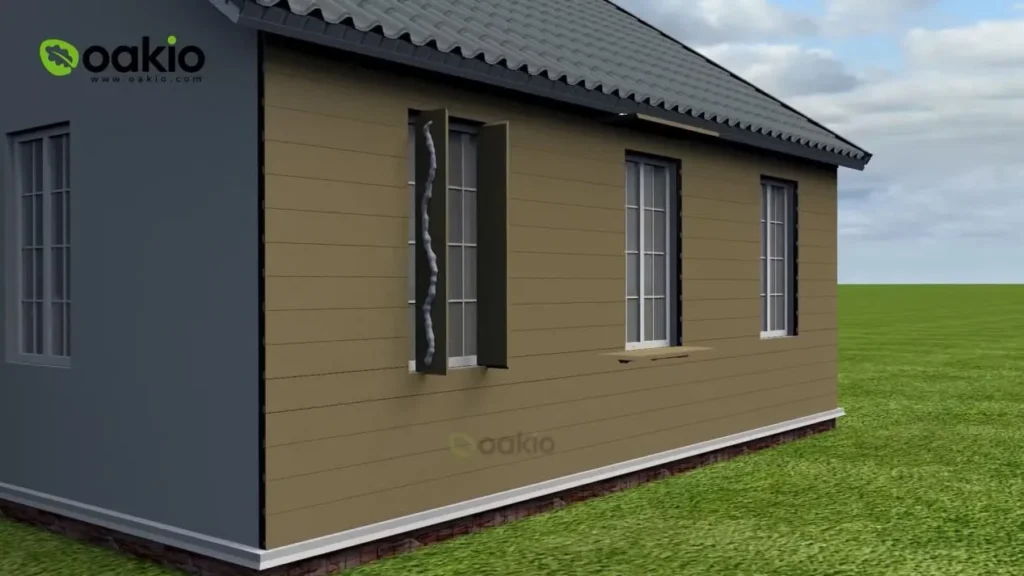
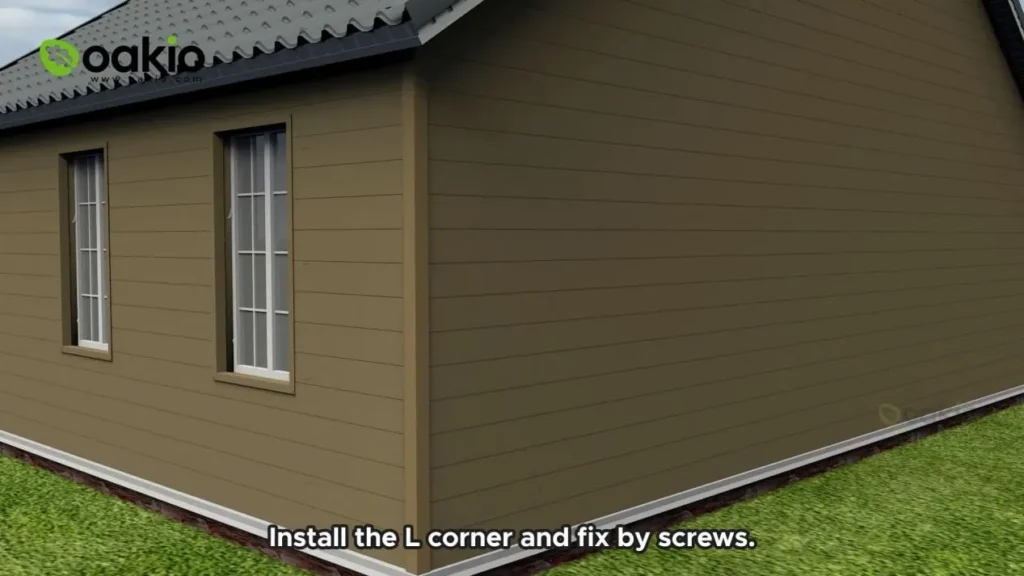
After finishing installing WPC cladding to the window frame, install L corner with screws.
Step 6: Complete Installation
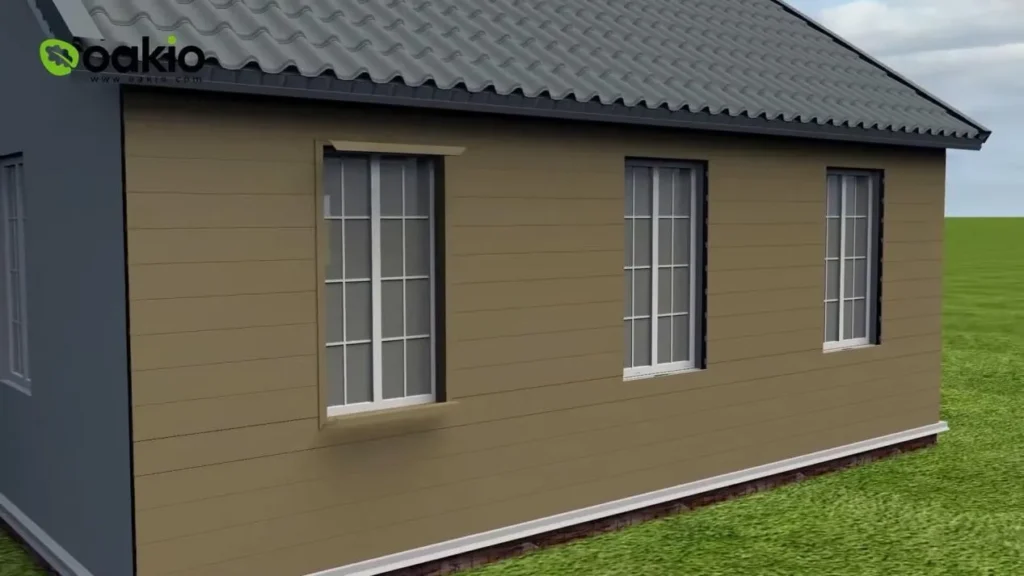
Continue installing WPC cladding row by row until the entire wall surface is covered. Trim the last row of panels to fit as necessary, ensuring a clean and professional finish. Check the alignment and spacing of panels periodically to maintain consistency throughout the installation process.

Install trim at the corner if you want (optional). Trim will help you cover the end of claddings and protect them from water and insects.
Step 7: Finishing Touches
Once the installation of WPC cladding is completed, inspect the cladding for any visible defects or imperfections. Make any necessary adjustments or corrections to ensure a seamless appearance. Clean the surface of the cladding with a mild detergent and water solution to remove any dirt or debris accumulated during installation.
Conclusion
If you are still unclear about the steps after reading this article, you can also check this video: Detailed Installation Steps for Outdoor WPC Wall Cladding, which is made by Oakio, a professional WPC composite products manufacturer. Installing WPC cladding is a rewarding DIY project that can transform your outdoor space into a functional and visually appealing area. By following these step-by-step guidelines and paying attention to details, you can achieve a professional-looking installation that enhances the beauty and usability of your walls. Whether you’re a seasoned DIY enthusiast or a first-time installer, WPC cladding provides an accessible and durable solution for creating an inviting outdoor oasis.
Trending Reading
How to Layout a Stair Stringer: A Step-by-Step Guide
A solid stairway begins with precise planning, and...
Can You Drive A Screw Into Siding? Everything You Need to Know
If you’ve ever considered hanging a decoration, in...
How to Measure Fence Post Spacing: A Complete Guide
When planning a new fence, one of the most importa...
How to Build a Wood Deck Railing: A Step-by-Step Guide
A wood deck railing is more than just a safet...
How to Build a Floating Deck: A Step-by-Step Beginner’s Guide
When it comes to creating a beautiful outdoor spac...

What Cleans Composite Decking Best?
Composite decking are getting popular in outdoor p...
How to Keep Bugs Away from Your Patio
There’s nothing better than spending a sunny after...
How to Replace Deck Boards
Why do you need to replace your deck boards Deck b...

How to Build An Outdoor Wood Stair Railing
Outdoor wood stair railing is not only a functiona...
Winter Care Guide for Outdoor Decking: Simple Steps to Keep It in Top Shape
As autumn fades and winter sets in, we bundle up f...
Trending Reading
What Are the Differences Between the WPC Board and PVC Board?

[2025 Update] How Long Does WPC Decking Last?


