How to Replace Deck Boards
Why do you need to replace your deck boards
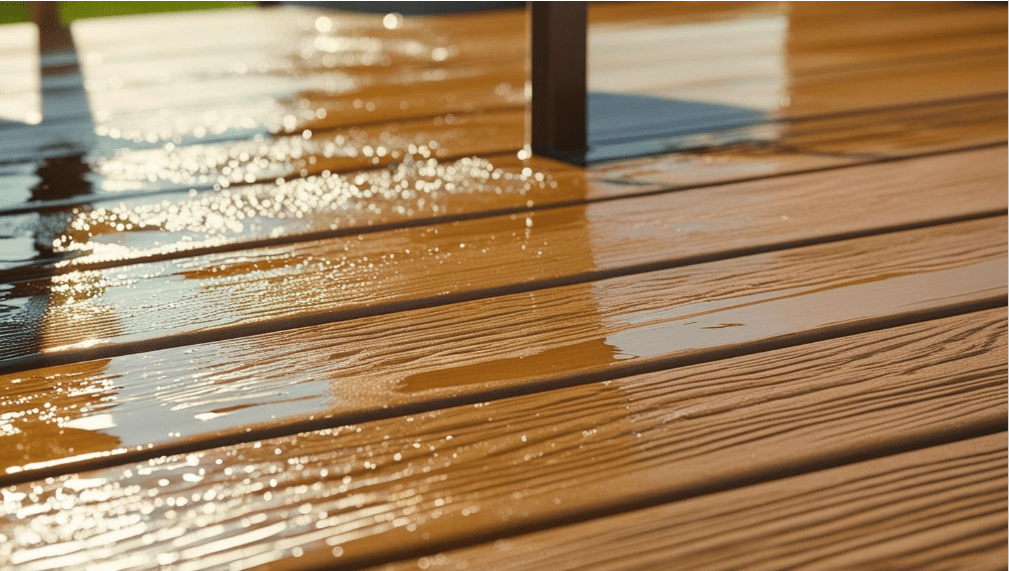
Deck boards don’t last forever—even with regular maintenance. You might need to replace deck boards when you notice signs like cracking, splintering, soft spots, or visible rot. Discoloration and mold growth that persist even after cleaning can also indicate deeper damage. If the boards feel unstable underfoot or you notice rusted fasteners coming loose, it’s time to take a closer look. In some cases, only a few boards need replacing—but if the damage is widespread, a full replacement might be the safer and more cost-effective option.
How to Know When It’s Time to Replace Your Deck Boards
Regular deck inspections are key to keeping your outdoor space safe and looking its best. Here are some common signs that your deck boards might be due for replacement:
Noticeable Surface Damage: Look out for obvious issues like cracks, splinters, or warped boards. If the wood looks overly dry, faded, or the grain seems worn down, it may be time for an upgrade.
Soft or Rotten Wood: Gently press on any suspicious areas—soft spots or visible decay are red flags. Rotten boards can weaken the entire structure and should be replaced promptly.
General Wear from Use: Constant exposure to sun, rain, and foot traffic can wear deck boards out over time. If your deck surface feels rough, brittle, or unstable, it might need attention.
Popped or Loose Fasteners: Screws or nails sticking out of the boards aren’t just unsightly—they’re also a safety hazard. If this issue happens repeatedly, replacing the boards may be more effective than continuous repairs.
Mold, Mildew, or Stains That Don’t Go Away: Persistent dark spots, musty smells, or mildew growth suggest moisture problems that can gradually destroy the wood.
Issues Below the Surface: Take a peek underneath—damaged or rotting joists can compromise the boards above. If the structure underneath is failing, you may need to replace deck boards in affected areas.
Cracking or Fading in Composite Boards: If you have a composite deck, check for deep cracks, uneven fading, or worn areas—these are signs the material is breaking down.
Uneven or Expanding Gaps: If the spacing between boards becomes inconsistent or too wide, it may signal shrinkage, warping, or instability. Swapping out a few affected boards can help restore a safe walking surface.
Color Retention Test: Try marking your deck with a lumber crayon and then clean it. If the mark doesn’t lift, that board might be too weathered to keep.
Constant Repairs: If you’re frequently fixing one issue after another, it may be more efficient—and safer—to consider replacing several boards or even the entire deck surface. In such cases, it’s time to seriously plan to replace deck boards rather than patch them.
How to Choose a Replacement Board
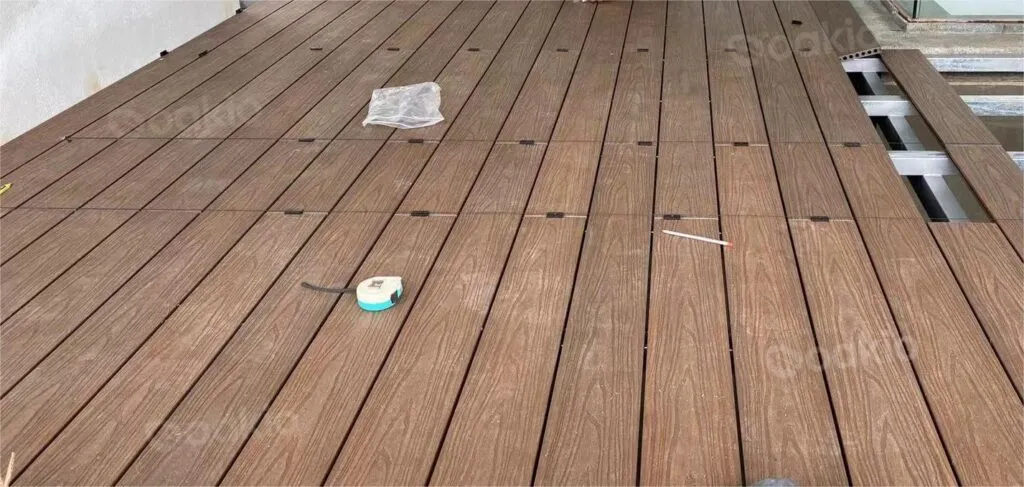
Choosing the right WPC material to repair your deck is quite straightforward — simply measure the size of the existing boards and purchase replacements with the same specifications. The more challenging part is matching the color and texture, as different batches of WPC can have slight variations. Selecting a closely matched product will help maintain a consistent overall appearance.
While decks can be built from various materials, many modern decks now use eco-friendly and durable wood-plastic composite (WPC). To find matching replacement boards, it’s a good idea to cut a small piece from the damaged board and bring it with you to the building materials market. Compare the color, grain, and even surface feel with the new boards. If you’re not confident in making the selection yourself, ask a staff member for help to ensure you get the most suitable WPC boards. This will ensure the boards you use to replace deck boards won’t stand out awkwardly from the rest.
Step 1: Inspect the Damage Thoroughly
Before removing any boards, take time to evaluate how serious the damage is. Check not only the visible surface but also underneath the deck—especially the joists. If a joist is weakened, you’ll need to reinforce it before installing new boards.
If the damage is minor, you can reinforce the joist by attaching a “sister” piece—another joist board—extending at least 12 inches past the affected area. Use 16d nails or 3-inch outdoor-grade screws to fasten it securely to solid wood. For major damage, sistering may need to span the full length of the joist.
Step 2: Plan Your Cuts
Using a speed square, mark a straight cutting line at both ends of the damaged board. Be sure to cut between joists and leave at least one solid joist between both cut points. You can locate the joists by peeking through the gaps between deck boards.
Step 3: Make the Cuts
Use a jigsaw to carefully cut along your marked lines. Keep the blade steady and avoid cutting into the joists beneath the board.
Step 4: Remove the Damaged Board
Once cut, gently pry the damaged section loose. If nails are difficult to remove, a cat’s paw tool can help extract them from the joist without damaging surrounding boards.
Step 5: Install Support Cleats
You’ll need to add cleats under the new board ends for proper support. Cut 2×4 cleats at least 12 inches long and fasten them to the joist just below the missing board using exterior screws or nails. Drill pilot holes first to avoid splitting the wood.
Step 6: Measure and Cut New Boards
Measure the space where the old board was and cut a replacement to match. Make sure your cut is straight and precise for a clean fit. Take care to use similar material and finish so that the replace deck boards job doesn’t look obvious.
Step 7: Install the Replacement Board
Fit the new board in place and secure it with 2½-inch deck screws. Install with the concave (cupped) side facing up—this helps water run off rather than pool on the surface. If the board looks flat, check the end grain and face any visible curve upward.
Step 8: Match the Finish
Apply stain and sealant to help the new board blend in with the rest of the deck. For a consistent look, consider refinishing the entire deck once the replacement is complete.
Final Thoughts
It’s normal for decks to show wear over time. But once problems go beyond the surface, knowing when—and how—to replace deck boards can extend the life of your entire structure and keep it safe and beautiful for years to come.
Trending Reading
How to Layout a Stair Stringer: A Step-by-Step Guide
A solid stairway begins with precise planning, and...

Can You Drive A Screw Into Siding? Everything You Need to Know
If you’ve ever considered hanging a decoration, in...

How to Measure Fence Post Spacing: A Complete Guide
When planning a new fence, one of the most importa...
How to Build a Wood Deck Railing: A Step-by-Step Guide
A wood deck railing is more than just a safet...

How to Build a Floating Deck: A Step-by-Step Beginner’s Guide
When it comes to creating a beautiful outdoor spac...

What Cleans Composite Decking Best?
Composite decking are getting popular in outdoor p...

How to Keep Bugs Away from Your Patio
There’s nothing better than spending a sunny after...

How to Build An Outdoor Wood Stair Railing
Outdoor wood stair railing is not only a functiona...
Winter Care Guide for Outdoor Decking: Simple Steps to Keep It in Top Shape
As autumn fades and winter sets in, we bundle up f...

How to Build a Hot Tub on Your Deck
Adding a hot tub on a deck is a great way to beaut...
Trending Reading

What Are the Differences Between the WPC Board and PVC Board?


[2025 Update] How Long Does WPC Decking Last?


