
How to Screen in a Deck: A Complete Guide
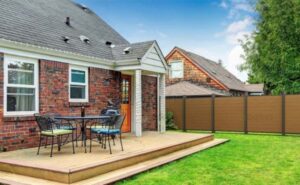
A deck is one of the best spots to relax, host gatherings, or simply enjoy the outdoors. But mosquitoes, flies, and unpredictable weather can quickly turn that peaceful escape into a hassle. The solution? Screen in a deck. Adding a screened enclosure not only keeps pests at bay but also gives you privacy, shade, and an extended outdoor living area you can use year-round. Even better, a screened-in deck increases your home’s value and enhances curb appeal.
Planning Your Screened-In Deck
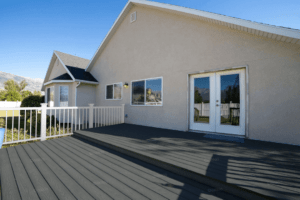
Before jumping into the project, careful planning ensures success. Start by evaluating your existing deck. Is it structurally sound? Screening in a deck adds weight and framing, so reinforcing weak posts or joists may be necessary. Next, check your local building codes—many municipalities require permits for screened structures.
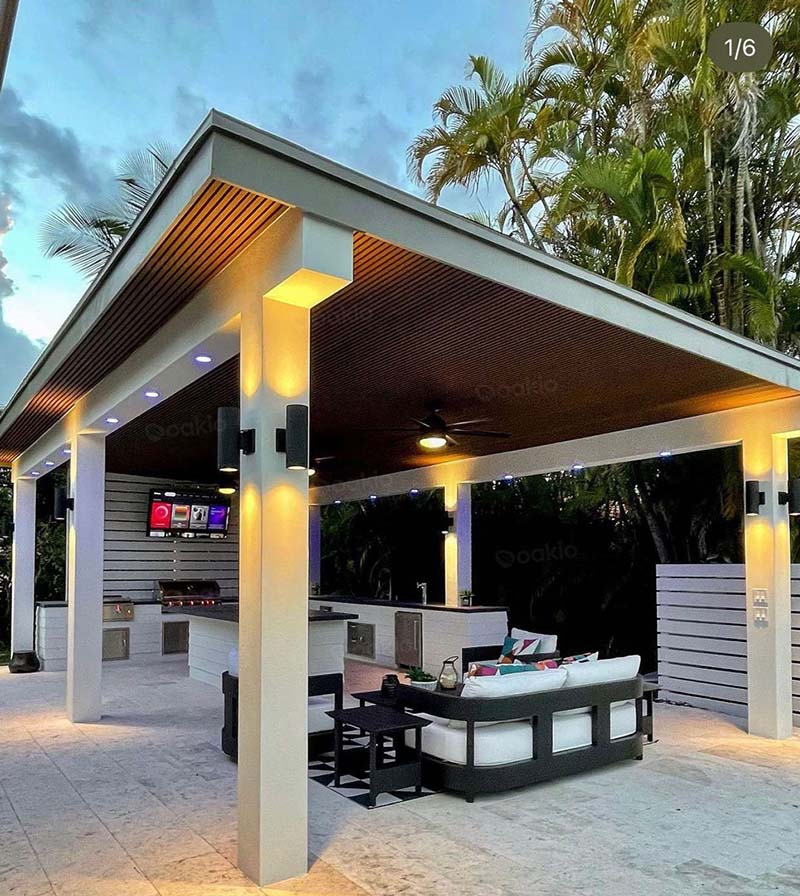
Once you’ve confirmed the basics, think about your screen style. Do you want a permanent screened enclosure, a retractable option that rolls up when not in use, or a ready-made kit? Consider how much sunlight, ventilation, and privacy you want. Some homeowners even integrate roofing into the design, making the screened deck feel like a true outdoor room.

Tools and Materials
Like any DIY project, preparation is half the work. To screen in a deck, you’ll typically need:
- – Tools: drill, circular saw, level, hammer, tape measure, utility knife.
- – Materials: screen mesh, framing materials (pressure-treated lumber, aluminum, or composite), fasteners, screen spline, screen door, and trim.
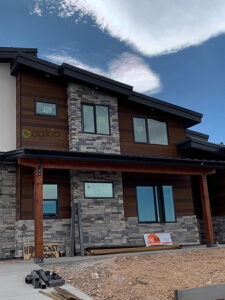
Optional upgrades: weather-resistant screens to block UV rays, and Oakio WPC cladding or trim to protect framing from rot and fading while giving it a modern finish.
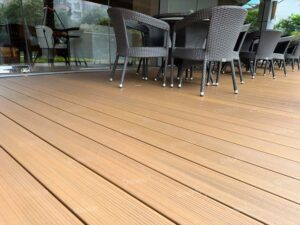
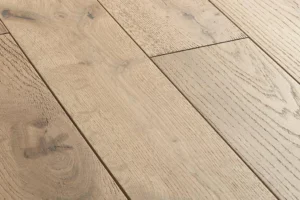
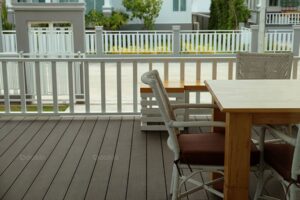
Choosing high-quality materials is crucial. For example, using Oakio WPC decking for your floor ensures you’ll enjoy a low-maintenance surface that resists stains, warping, and insects—perfect for a screened space that’s meant for comfort.
Step-by-Step Guide to Screening in a Deck
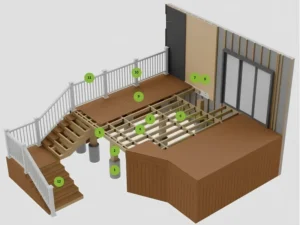
Step 1: Prepare the deck
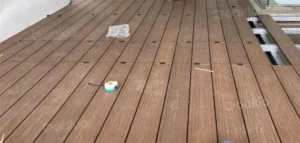
Inspect your deck boards, joists, and posts. Replace damaged wood, tighten loose fasteners, and clean the surface thoroughly. A solid foundation ensures your screened enclosure will last.
Step 2: Build the frame
Construct a framing system using wood, aluminum, or composite beams. The frame provides the skeleton for attaching the screen mesh. If you want long-lasting beauty with minimal upkeep, consider Oakio WPC beams, which resist moisture and maintain their color for decades.
Step 3: Attach the screen mesh
Stretch the screen tightly over the frame and secure it with spline or trim. The tighter the fit, the longer it will last without sagging.
Step 4: Install the screen door
Choose a sturdy door that blends with your design. Proper placement ensures easy access to your outdoor area while keeping insects out.
Step 5: Add finishing touches
Paint, stain, or cover your framing for aesthetics. For a modern look that resists fading and weather, wrap your posts with Oakio WPC cladding—combining function with style.
Design Ideas and Enhancements
A screened-in deck doesn’t have to be plain. With a few creative touches, you can transform it into a retreat:
- – Lighting and fans: Install ceiling fans for airflow and soft lighting for evening gatherings.
- – Flooring upgrades: Swap traditional wood for Oakio WPC decking, which mimics natural wood grain but requires little maintenance.
- – Pergola-style roof: Add a pergola with integrated screening for shade and elegance.
- – Furnishings: Comfortable outdoor sofas, rugs, and cushions complete the cozy feel.
Maintenance Tips for a Screened Deck
To ensure your screened deck remains in top shape, adopt a simple maintenance routine. Check the mesh regularly for tears or sagging and replace as needed. Clean your decking with mild soap and water—especially if you’ve chosen Oakio WPC decking, which is designed to resist stains and mold. Inspect framing for signs of weathering, and reseal or replace damaged components. Adding a quick exterior-grade caulk around screw holes can also prevent water seepage.
Cost Considerations
The cost of screening in a deck varies based on size, materials, and whether you go DIY or hire a professional. On average, a DIY project might range from a few hundred dollars for simple screens to several thousand for custom framing and roofing. Professional installation typically starts higher but ensures precision and long-term durability.
While wood framing may seem cheaper initially, investing in low-maintenance materials like Oakio WPC decking and cladding reduces repair costs in the long run. You’ll spend less time sanding, staining, or replacing boards—and more time enjoying your outdoor oasis.
Conclusion
Screening in a deck is one of the most rewarding ways to upgrade your backyard. It creates a comfortable, bug-free environment, boosts privacy, and adds value to your home. With thoughtful planning, the right tools, and durable materials like Oakio WPC decking, cladding, and beams, your screened-in deck can become a stylish retreat you’ll enjoy for years.
So, are you ready to transform your deck into a relaxing haven? Start planning today, and let Oakio’s innovative WPC products bring lasting beauty and function to your outdoor space.
Trending Reading
How to Choose the Right Deck Sizes for Your Home
A deck can transform your backyard into a true ext...
How to Calculate Deck Post Spacing for a Safe and Sturdy Deck
Whether you’re building a backyard retreat or upgr...
Deck Inspection Made Easy: Why It Matters and What to Look for
Your deck is more than just an outdoor platform—it...

Breakdown of Composite Decking Types
Nowadays, composite decking has become the go- to ...
How Much Does a Deck Remodel Cost?
In recent years, more and more homeowners have cho...

Answering 9 Questions You Might Have about Building a Roof Deck
A roof deck is an outdoor platform built on a flat...
Solid Wood vs WPC: Which One Is the Best Wood For Decks?
When decorating a house, it is often hard to decid...

Cheap Deck Railing Ideas: Designs that Still Look Great without Breaking the Bank
A lot of modern homes use glass for deck railings ...

Deck Joist Spacing Guide: How to Get It Right for a Safe and Strong Deck
When building an outdoor deck, the joist structure...
How to Build A Simple Above Ground Pool Deck
With the popularity of outdoor lifestyles, more an...
Trending Reading
What Are the Differences Between the WPC Board and PVC Board?
[2025 Update] How Long Does WPC Decking Last?


